How To Cook a Thanksgiving Turkey: My Step By Step Guide
Thanksgiving turkey seems overwhelming, right? Do not worry, I will walk you through the entire process, step by step. We will get that beautiful, juicy bird onto your table without a single tear, promise. You will impress everyone, or at least yourself, which is what really matters.
Preparing Your Turkey
You have bought your turkey, now what? First, we need to talk thawing. Do not rush this part unless you like rock-solid centers. A properly thawed turkey cooks evenly and safely.
Thawing Methods
You have a couple of good options for thawing your big bird. Each requires some foresight, so plan ahead. You do not want a frozen turkey on Thanksgiving morning.
Refrigerator Thawing

This method is the safest and easiest. It takes a long time, but it works wonders. I always use this way myself.
- Place the wrapped turkey in a pan to catch any drips.
- Put the pan on the bottom shelf of your refrigerator.
- Allow approximately 24 hours of thaw time for every 4-5 pounds of turkey. So, a 20-pound bird needs about 4-5 days.
Relax; your refrigerator does all the hard work here. Just make sure you start early enough. Running out of time means rushing, and rushed turkeys are never happy turkeys.
Cold Water Thawing
This method is faster but demands more attention. You cannot just plop the turkey in water and walk away. That is a recipe for a soggy, possibly unsafe, mess.
- Keep the turkey in its original wrapper.
- Submerge the wrapped turkey in cold tap water.
- Change the water every 30 minutes to keep it cold. This stops bacteria from growing.
- Allow about 30 minutes per pound of turkey. A 20-pound turkey would need about 10 hours.
- Cook the turkey immediately after it thaws using this method.
Honestly, the cold water method gives me anxiety. I am always worried I will forget to change the water. However, if you are short on time, it is a lifesaver.
Brining Your Turkey
Brining is my secret weapon for a juicy, flavorful turkey. It helps the meat retain moisture and infuses it with flavor. If you skip this, your turkey might taste a bit bland.
Wet Brine Versus Dry Brine
You have two main choices when it comes to brining. I have tried both, and honestly, they both work well. It just depends on what you prefer.
- Wet Brine: Submerging the turkey in a salty liquid solution. This adds moisture directly to the meat. You need a large cooler or a very big pot.
I find this a bit messy, but the results are undeniably good. You might spill some brine, but it is worth it. - Dry Brine: Rubbing the turkey with a salt mixture. This draws out moisture, then reabsorbs it, concentrating flavor. It is less messy than a wet brine.
I usually lean towards dry brining now. It is simpler, and you do not need a giant bucket. Plus, the skin gets really crispy.
My Go-To Dry Brine Recipe
This recipe is simple and always delivers. Do not overthink it; just gather your ingredients. You probably have most of them already in your pantry.
- 1/2 cup kosher salt
- 2 tablespoons black pepper
- 1 tablespoon dried rosemary
- 1 tablespoon dried thyme
- 1 tablespoon garlic powder
- 1 teaspoon ground sage
Mix everything well in a small bowl. You want it evenly distributed for the best coverage. If you are missing an herb, do not fret; it will still be good.
Pat your turkey completely dry with paper towels. You want no moisture on the skin for the brine to stick properly. Rub the brine mixture all over the turkey, inside the cavity, and under the skin of the breast. Trust me, getting it under the skin makes a huge difference. Place the turkey on a rack in a roasting pan, uncovered, in the refrigerator for 24-48 hours. The uncovered part is crucial for crispy skin. If you cover it, you lose that crispiness.
Roasting Your Turkey
Now for the main event: actually cooking the turkey. This part can seem scary, but it is really just a matter of time and temperature. A meat thermometer is your best friend here. Do not try to guess.
Stuffing Versus Not Stuffing
This is a hot debate in some kitchens. I have strong opinions here, so listen up.
- Stuffing: If you stuff your turkey, remember that the stuffing needs to reach 165 degrees Fahrenheit to be safe. This means your turkey will cook longer, and the breast meat might dry out.
I never stuff my turkey. It is just too risky for the breast meat. Cook your stuffing in a separate dish. It is safer and tastes just as good, if not better. - Not Stuffing: Cooking the turkey unstuffed allows for more even cooking and usually results in a juicier bird.
This is my preferred method. Your turkey cooks faster, and you do not have to worry about raw stuffing. Everyone wins.
Roasting Pan Setup
A good roasting pan is essential. You need one that fits your turkey and has a rack. The rack lifts the turkey, allowing air to circulate. Without a rack, the bottom of your turkey gets soggy.
Place a V-rack inside your roasting pan. If you do not have a V-rack, make a makeshift one. You can crumple aluminum foil into thick ropes and arrange them on the bottom of the pan. This lifts the turkey just enough. I have done this many times, and it works surprisingly well. Place some aromatics like chopped onions, carrots, and celery in the bottom of the pan around the rack. Add a cup or two of chicken broth or water to the bottom of the pan. This creates steam and keeps the pan drippings from burning. Plus, it makes amazing gravy. Do not forget the pan drippings; they are liquid gold.
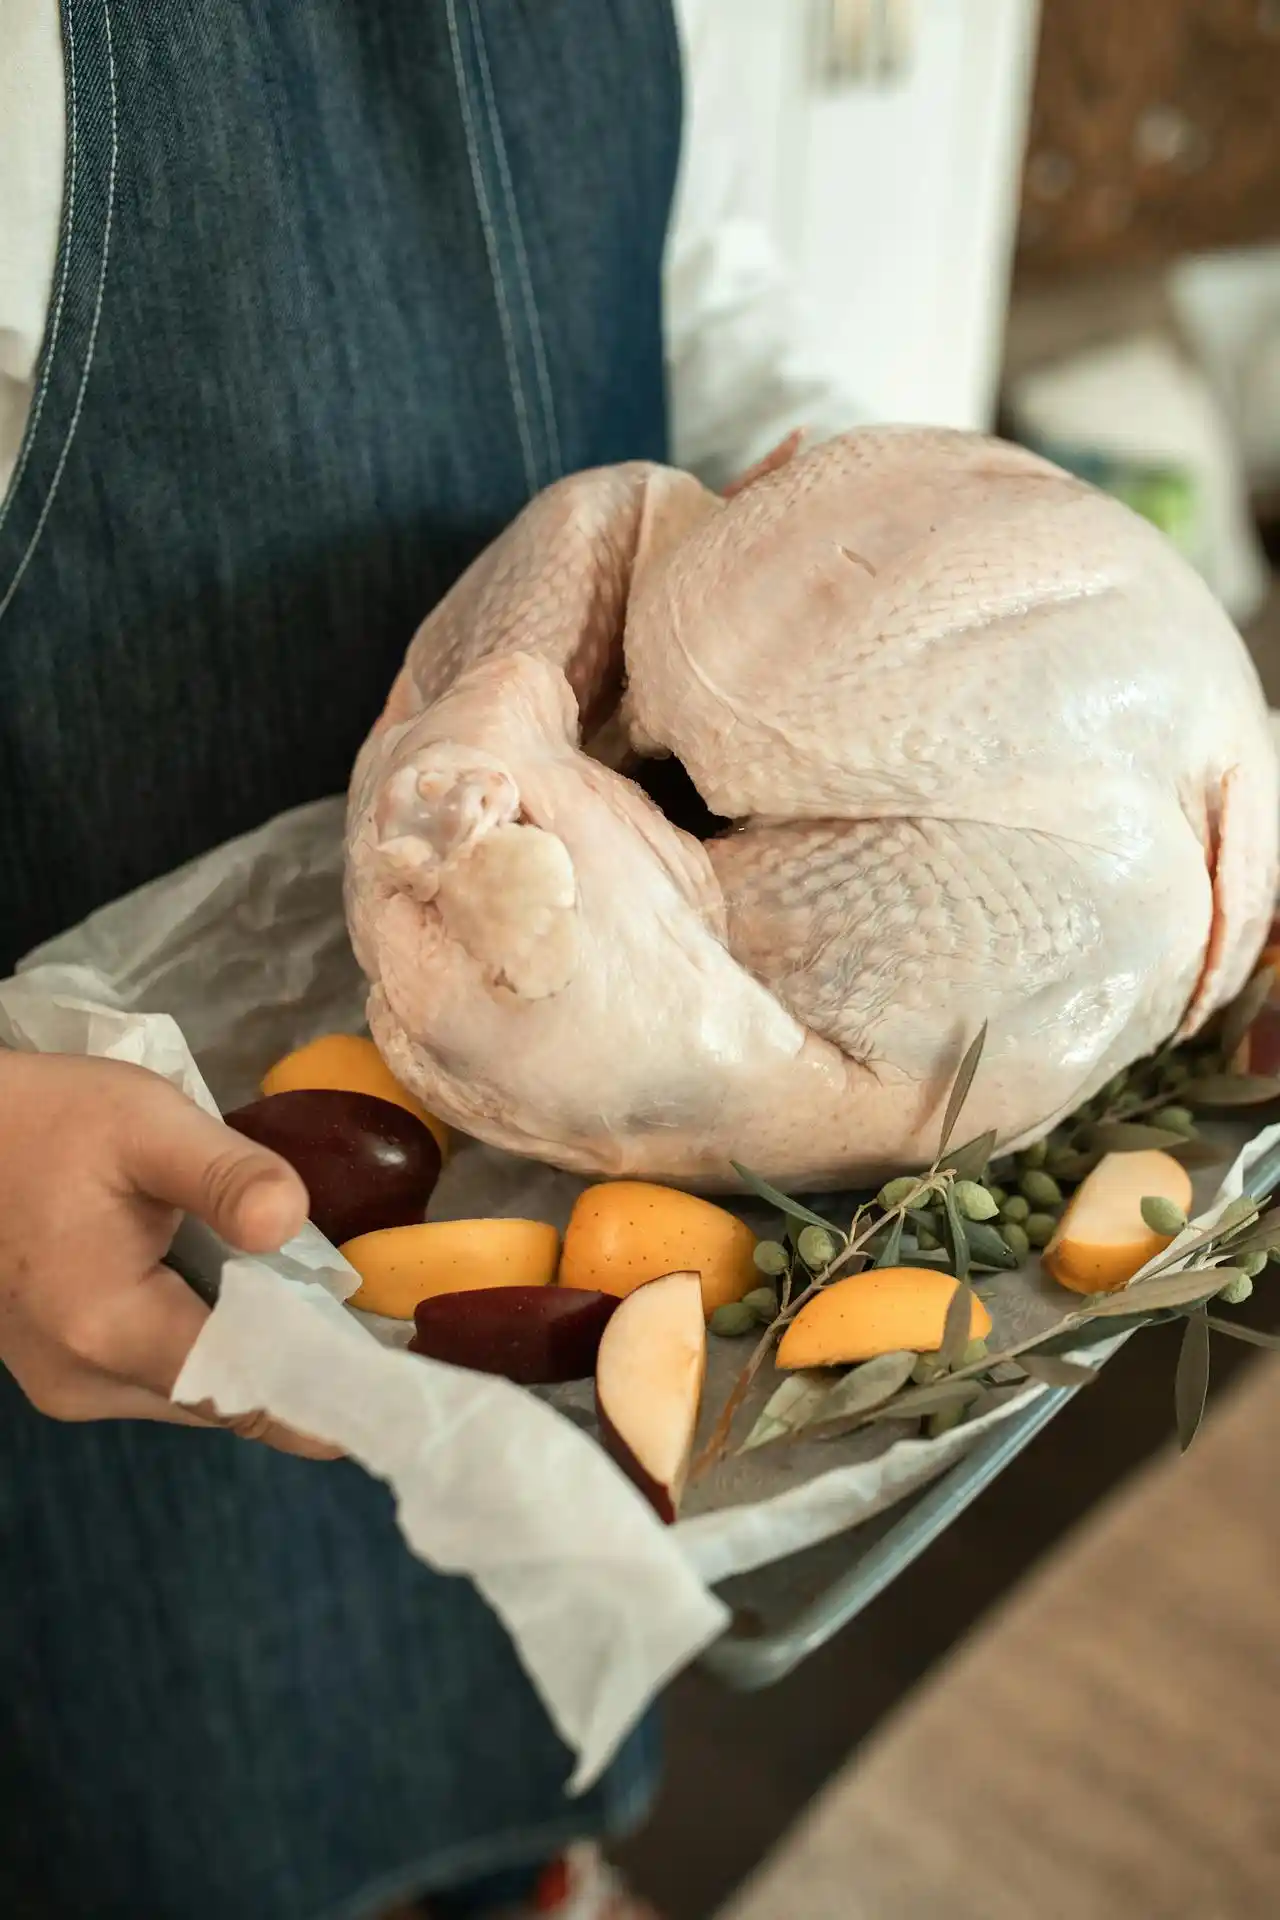
Prepping the Bird for Roasting

You want to get your turkey ready for its big moment. This involves a few simple steps. You will thank yourself later for these little additions.
- Preheat your oven to 425 degrees Fahrenheit. A hot oven helps crisp the skin.
- Remove the turkey from the refrigerator at least 30 minutes before roasting. This helps it cook more evenly.
- Drizzle the turkey with a little olive oil or melted butter. Rub it all over the skin. This helps achieve that beautiful golden-brown color.
- Place aromatics like a halved onion, a few sprigs of fresh rosemary, and some lemon wedges inside the turkey cavity. These will add flavor to the bird from the inside out. They also make your kitchen smell amazing.
You want to make sure your turkey is positioned breast-side up on the rack. This is standard practice.
Roasting Times and Temperatures
This is the part everyone asks about. How long do I cook it? The answer always depends on your turkey’s size and your oven.
| Turkey Weight | Approximate Roasting Time (Unstuffed) | Notes |
|---|---|---|
| 8-12 lbs | 2.75-3 hours | Start checking temperature at 2.5 hours. |
| 12-14 lbs | 3-3.75 hours | A popular size for smaller gatherings. |
| 14-18 lbs | 3.75-4.25 hours | My usual size. |
| 18-20 lbs | 4.25-4.5 hours | Gets pretty big. |
| 20-24 lbs | 4.5-5 hours | You need a large roasting pan for this one. |
Start your turkey at 425 degrees Fahrenheit for the first 30-45 minutes. This high heat helps crisp the skin. Then, reduce the oven temperature to 325 degrees Fahrenheit for the remainder of the cooking time. If the skin starts getting too dark, loosely tent it with aluminum foil. This keeps it from burning.
Checking for Doneness
This is the most important step for turkey safety and deliciousness. A meat thermometer is non-negotiable. Do not try to guess by poking it with a fork. You risk serving undercooked poultry, and nobody wants that.
Insert your meat thermometer into the thickest part of the thigh, making sure it does not touch any bone. The temperature should read 165 degrees Fahrenheit. Also, check the thickest part of the breast. It too needs to reach 165 degrees Fahrenheit. Remember, the temperature will rise a few degrees after you remove it from the oven during resting. This is called carryover cooking. So, pulling it out at 160-162 degrees Fahrenheit is perfectly fine, especially for the breast, as it will reach 165 degrees Fahrenheit after resting. Your turkey will be perfect.
The All-Important Rest
Once your turkey reaches the correct internal temperature, remove it from the oven. Do not carve it immediately. This is perhaps the hardest part, but it is necessary.
Tent the turkey loosely with aluminum foil. Let it rest for at least 20-30 minutes, or even up to an hour for larger birds. Resting allows the juices to redistribute throughout the meat. If you cut into it too soon, all those delicious juices will run out onto your cutting board, leaving you with dry meat. Be patient; your taste buds will thank you.
Carving and Serving Your Magnificent Bird
Now for the grand finale. Carving can feel intimidating, but with a sharp knife and a little practice, you will master it. You have come this far, do not mess it up now.
Tools You Need
You will need a good carving knife, ideally long and thin. A carving fork helps secure the bird. A large cutting board with a well to catch juices is also useful. If you do not have these, use your sharpest large knife and a regular cutting board.
My Simple Carving Method
I start by removing the legs and thighs. Cut through the skin between the leg and the body, then bend the leg back until the joint pops. Finish cutting around the joint. You will get the hang of it quickly.
- Remove the dark meat first. Separate the drumsticks from the thighs. Slice the thigh meat off the bone.
- Next, remove the wings at the joint.
- For the breast, make a long cut along one side of the breastbone. Then, slice horizontally across the breast meat, following the rib cage contour. You will get nice, even slices.
- Arrange the carved turkey pieces on a large platter. Garnish with fresh herbs, like rosemary or parsley, for a beautiful presentation.
Your family and friends will be amazed. You did it. You cooked a Thanksgiving turkey. And it was juicy, perfectly seasoned, and absolutely delicious. Go ahead, brag a little. You earned it.
Frequently Asked Questions
My turkey looks pale after a long time, what can I do?
If your turkey is not browning, increase your oven temperature to 400 degrees Fahrenheit for the last 30 minutes. You can also brush the skin with a little melted butter or oil to help it achieve a golden color.
Can I cook my turkey ahead of time?
You can roast your turkey a day in advance, let it cool completely, then carve it. Reheat the carved meat gently in a little broth or gravy to prevent it from drying out. This strategy can reduce stress on Thanksgiving Day.
What if my turkey is too big for my oven?
If your turkey is too large, consider spatchcocking it (butterflying). This flattens the bird, allowing it to fit into smaller ovens and cook more evenly and faster. Alternatively, you could cut it into pieces and roast the parts separately.