How to Plan the Perfect Wedding: A Guide to Wedding Planning
Planning a wedding can feel overwhelming, but it doesn’t have to be. With careful organization and the right approach, you can create your dream celebration while enjoying the journey from engagement to “I do.”
Breaking down the process into manageable steps helps transform what seems like a mountain of decisions into an exciting adventure that reflects your unique love story.
Your wedding should be a reflection of who you are as a couple. Start by setting a realistic budget and envisioning what matters most to you both. Whether you’re dreaming of an intimate gathering or a grand celebration, planning ahead gives you time to research venues, compare vendors, and make thoughtful choices rather than rushed decisions.
Remember that flexibility is key throughout your wedding planning timeline. Things may not always go exactly as planned, but keeping an open mind and focusing on what truly matters—celebrating your commitment to each other—will help you navigate any challenges with grace.
Consider creating a detailed checklist to stay on track and delegate tasks to trusted friends and family when possible.
Key Takeaways
- Set a realistic budget and vision early in your engagement to guide all your wedding planning decisions.
- Create a comprehensive timeline with checklists to keep your planning organized and reduce stress as your wedding day approaches.
- Remember to delegate responsibilities and purchase wedding insurance to protect your investment and prepare for unexpected challenges.
Setting Your Wedding Vision and Budget
Before diving into wedding details, you need a clear vision and realistic budget. These two elements form the foundation of your planning process and will guide all your decisions moving forward.
Determining Your Priorities
Start by discussing what matters most to both of you. Is it amazing food, a stunning venue, or beautiful photography? Make a list of your top three to five priorities.
Your wedding style plays a crucial role in your vision. Do you want something rustic, elegant, bohemian, or modern? Look at wedding magazines and websites for inspiration.
Consider your guest list early—it dramatically impacts your budget. A rough estimate is fine at this stage, but be realistic. Each person adds to your food, drink, and venue costs.
Quick Priority Exercise:
- What three wedding elements would you be heartbroken to compromise on?
- What aspects are you flexible about?
- What feeling do you want guests to leave with?
Allocating Funds Appropriately
A typical wedding budget breakdown follows general guidelines, but you can adjust based on your priorities.
Sample Budget Allocation:
| Category | Percentage |
|---|---|
| Venue/Catering | 40-50% |
| Photography/Video | 10-12% |
| Attire | 8-10% |
| Flowers/Decor | 8-10% |
| Music/Entertainment | 7-10% |
| Stationery | 2-3% |
| Wedding Rings | 2-3% |
| Miscellaneous | 5-8% |
Set aside 5-10% of your total budget as a buffer for unexpected costs. They always happen!
Remember that certain dates and seasons cost more. Consider a Friday or Sunday wedding, or an off-season date to stretch your budget further.
Don’t Guess Your Wedding Costs – Calculate Them!
Take control of your wedding finances with our interactive wedding budget calculator that shows you exactly how much to spend on venue, catering, attire, and more.

Tracking Expenses
Create a detailed wedding budget spreadsheet to track every expense. Include columns for estimated costs, actual costs, deposits paid, and balances due.
Review your budget regularly—at least monthly during planning. This helps you stay on track and make adjustments before small overages become big problems.
Use a dedicated credit card or bank account for wedding expenses. This makes tracking much easier and helps separate wedding finances from daily expenses.
Consider using wedding planning apps with budget features. Many offer free versions that can send payment reminders and track spending against your categories.
Save all contracts, receipts, and correspondence with vendors. These documents help resolve any disputes and keep you organized when tracking payments.
Creating Your Master Plan
A well-organized wedding plan helps you stay on track and reduces stress during the planning process. Your master plan will be your roadmap to wedding day success, keeping all important details in one accessible place.
Starting with a Checklist
Begin by creating a comprehensive wedding checklist that includes every task you need to complete before your big day. Break down these tasks by category such as venue, catering, attire, and décor.
A good checklist should include:
- Must-have vendors to book (photographer, caterer, DJ)
- Décor elements to purchase or rent
- Attire decisions for you and the wedding party
- Guest experience considerations
Digital checklist tools can sync with your phone, but many couples prefer a physical list they can mark off. The satisfaction of checking items off your list provides a visual reminder of your progress.
Don’t try to create this list from scratch. Many wedding websites offer free templates you can customize for your specific needs.
Organizing Your Wedding Binder
A wedding binder serves as the central hub for all your planning materials. Purchase a durable three-ring binder with dividers for different categories.
Essential wedding binder sections:
- Budget tracker and payment schedules
- Vendor contracts and contact information
- Inspiration photos and swatches
- Guest list management
- Timeline documents
Include plastic sleeves to protect important papers and business cards. Keep a three-hole punch nearby so you can easily add new documents.
Your binder should travel with you to vendor meetings. This ensures you always have reference materials and can take notes immediately. Consider including a zippered pouch for receipts and small items.
Setting a Timeline for Tasks

Create a month-by-month timeline working backward from your wedding date. This prevents last-minute rushes and helps distribute tasks evenly throughout your engagement.
Key timeline milestones:
- 12+ months: Book venue, major vendors, save wedding date
- 8-10 months: Order save the dates and attire
- 6 months: Order invitations, plan honeymoon
- 3 months: Send invitations, finalize menu
- 1 month: Create day-of timeline, confirm all details
Be strategic about when you complete tasks. For example, schedule tastings and fittings during less busy periods of your year.
Add buffer time for unexpected delays, especially for custom items or popular vendors. Some tasks, like booking venues in peak season, may need to happen earlier than standard timelines suggest.
Selecting the Venue and Vendors
Choosing the right venue and vendors is a crucial step in planning your dream wedding. These decisions will shape the look, feel, and overall experience of your special day.
Finding the Perfect Venue
Start your venue search by setting a realistic budget and guest count. Look for locations that match your wedding style – whether it’s a rustic farm venue, elegant hotel, or beachside setting.
Visit multiple venues in person before making a decision. Take photos and notes during tours to help compare options later. Ask about availability for your preferred dates, as popular venues book 12-18 months in advance.
Important questions to ask venues:
- What’s included in the rental fee?
- Are there noise restrictions or time limits?
- Is there a backup plan for outdoor areas?
- Do you have preferred or required vendors?
Check if the venue offers wedding packages that might simplify your planning process. Many venues have all-inclusive options that cover catering, tables, chairs, and basic décor.
Vetting and Booking Vendors
Create a priority list of vendors based on what matters most to you. Most couples book their photographer, videographer, and music early since talented professionals get booked quickly.
When interviewing potential vendors, look beyond their portfolio. Assess their communication style and responsiveness. You’ll be working closely with these people during a stressful time, so personal chemistry matters.
Always check reviews and ask for references from past clients. Don’t hesitate to read online reviews and reach out to couples who’ve used their services.
Get everything in writing with detailed contracts that specify:
- Exact services provided
- Pricing and payment schedule
- Cancellation policy
- Backup plans if the vendor can’t perform
Consider booking vendors from your venue’s preferred list as they’re already familiar with the space and requirements.
Arranging Catering and Decor
Food is a memorable part of any wedding. Schedule tastings with potential caterers to sample their offerings. Discuss menu options that accommodate dietary restrictions among your guests.
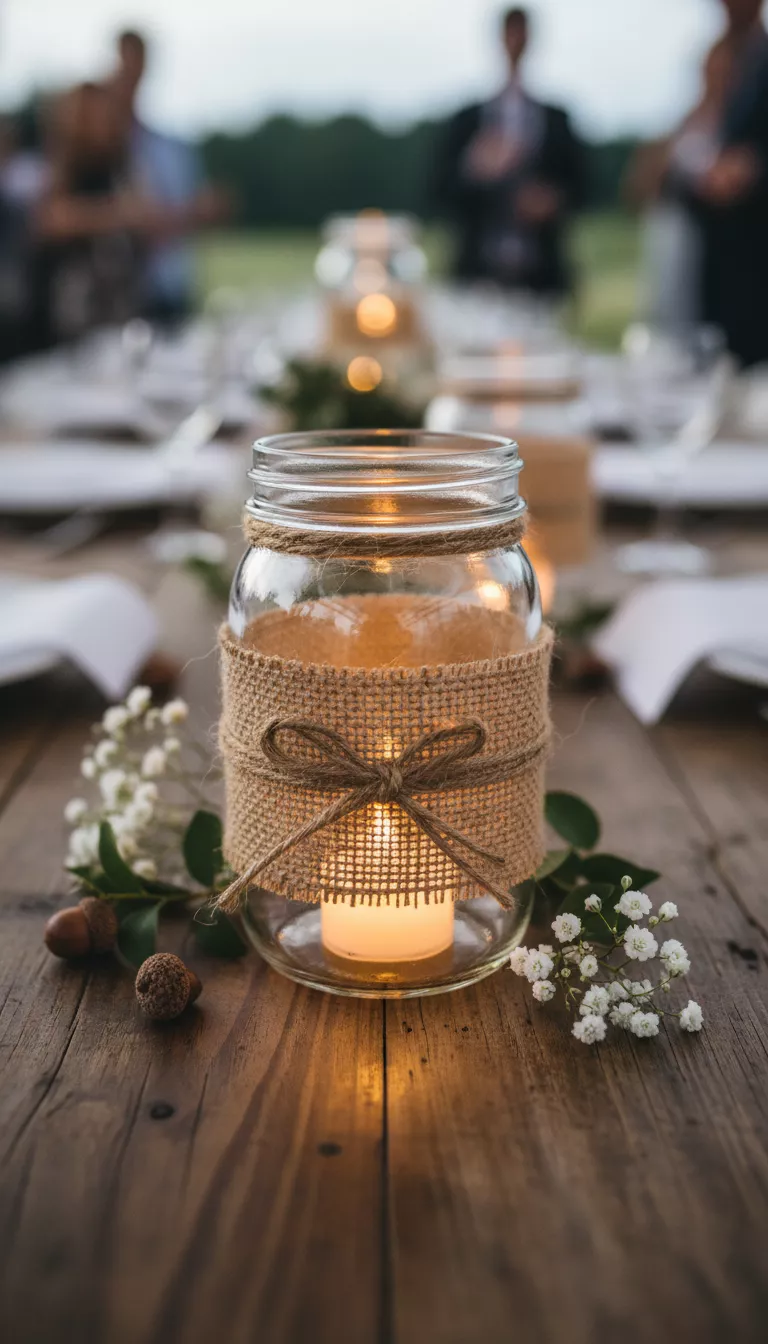
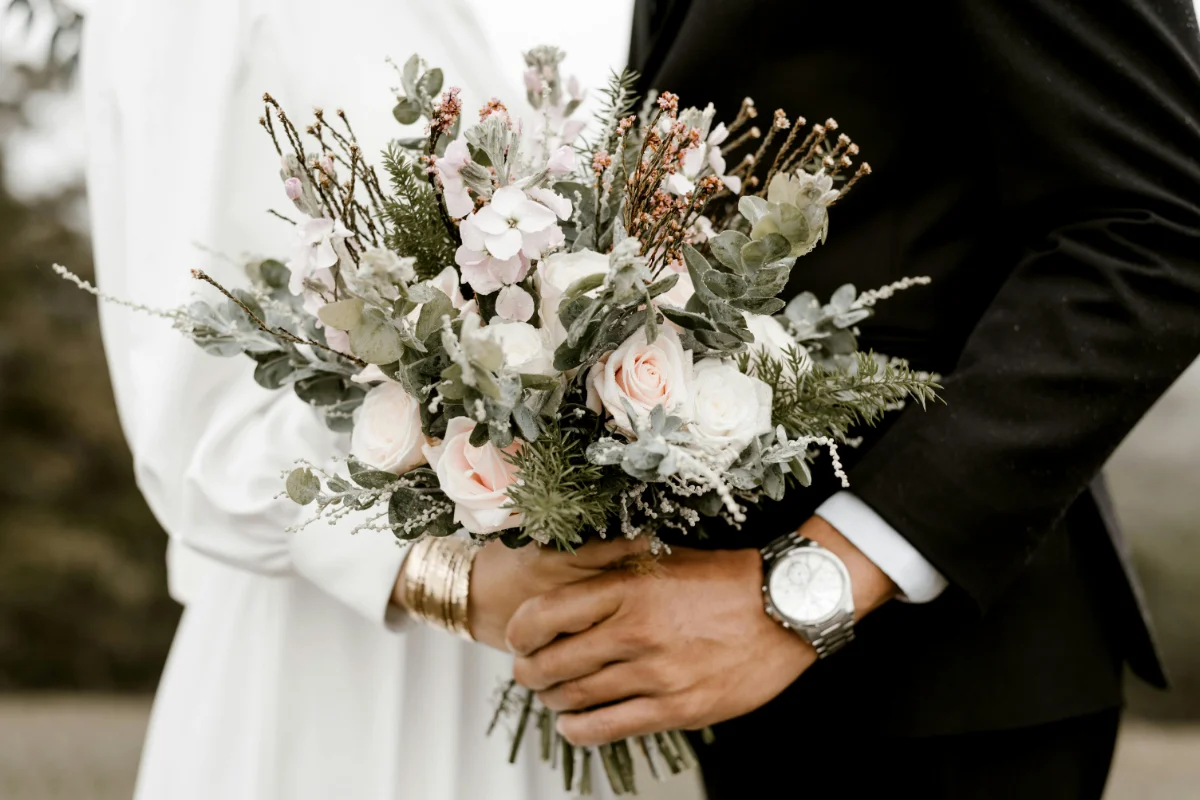
When planning décor, create a cohesive vision that complements your venue. Pinterest boards can help organize your ideas. Consider seasonal flowers to maximize your floral budget.
Think about the guest experience when planning your layout and décor. Ensure there’s comfortable seating for elderly guests and good traffic flow between key areas.
Rental items to consider:
- Tables and chairs
- Linens and napkins
- Lighting elements
- Tableware and glassware
Don’t underestimate the impact of lighting on your venue’s atmosphere. Simple string lights or candles can transform a space without breaking your budget.
Fashion and Attire for the Big Day
What you wear on your wedding day sets the tone for the entire celebration and will be captured in photos you’ll treasure forever. Selecting the right attire requires careful planning, attention to detail, and consideration of your venue and season.
Choosing the Bride’s Dress

Start your wedding dress search 9-12 months before the big day to allow ample time for ordering, delivery, and alterations. Consider your venue and season when choosing a style—lightweight fabrics for summer weddings, heavier materials for winter.
Try on multiple silhouettes even if you think you know what you want. A-line dresses flatter most body types, while ball gowns create a dramatic statement. Mermaid and trumpet styles highlight curves.
Set a clear budget before shopping. Remember to include costs for:
- Alterations
- Undergarments
- Veil or headpiece
- Shoes
- Jewelry
Bring a small group of trusted friends or family to appointments. Too many opinions can become overwhelming and confuse your decision-making process.
Attire for Groom and Groomsmen

The groom’s attire should complement the wedding’s formality and the bride’s dress. Classic options include:
- Formal evening: Black tuxedo with bow tie
- Semi-formal: Dark suit with tie
- Casual outdoor: Light-colored suit or even nice slacks with a blazer
Purchase or rent attire at least 3-4 months before the wedding. Rentals should be arranged even earlier if your wedding falls during prom or peak wedding season.
Consider how the groom can stand out from groomsmen through subtle differences like:
- A different color vest or tie
- A special boutonniere
- A slightly different suit color or style
Make sure everyone gets properly measured. Ill-fitting formalwear is uncomfortable and looks unprofessional in photos.
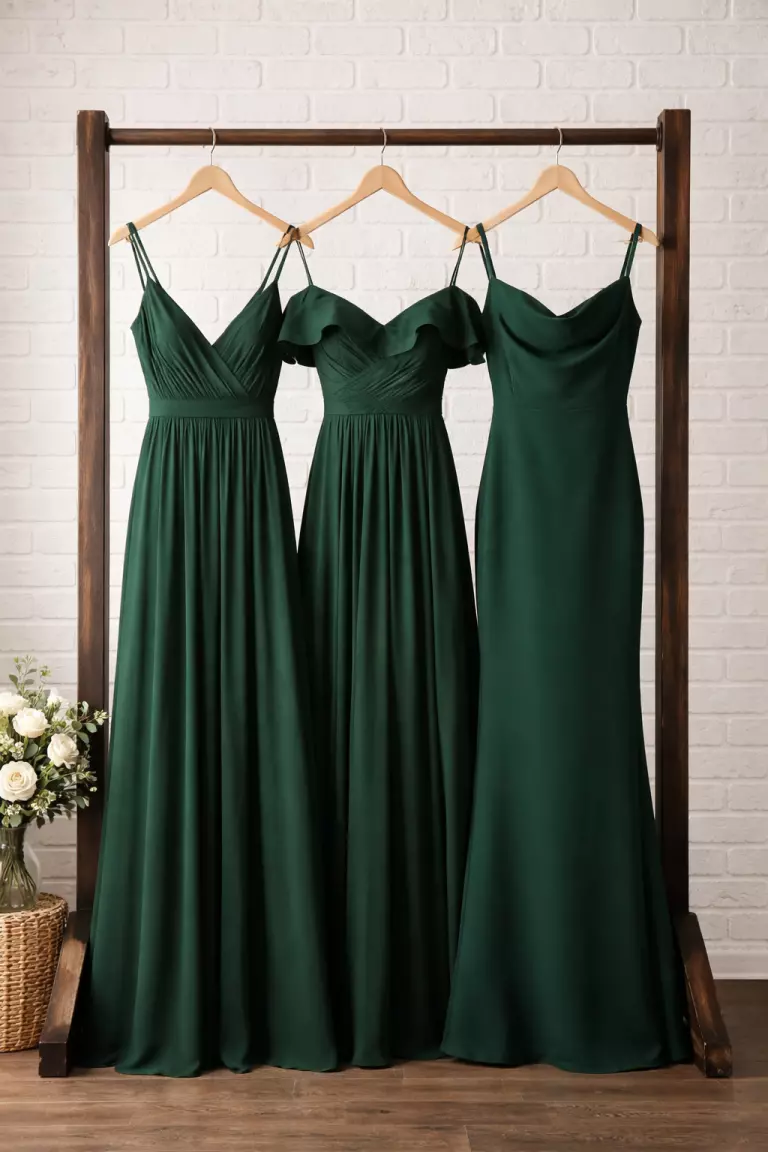
Coordinating Bridesmaids’ Dresses

Modern bridesmaid styling offers flexibility. You can choose identical dresses or coordinate through color, length, or fabric while allowing different styles that flatter various body types.
Order bridesmaids’ dresses 6-7 months before the wedding to ensure delivery and time for alterations. Consider these factors:
- Budget: Be mindful of what you’re asking attendants to spend
- Reusability: Styles they might wear again
- Comfort: Seasonal appropriateness and mobility
For summer weddings, consider lightweight dresses that will keep your party comfortable during outdoor photos and dancing.
Don’t forget accessories! Decide whether you’ll provide jewelry, shoes, and hair accessories or if bridesmaids will choose their own within guidelines.
Managing Invitations and Guest Experience
Your invitations set the tone for your wedding day while your guest management strategy ensures everyone has a memorable experience. Thoughtful planning in these areas shows care for your guests and makes your big day run more smoothly.
Designing and Sending Invitations

Start by sending save-the-date cards 6-8 months before your wedding. This gives guests time to arrange travel and accommodations, especially important for destination weddings.
For your formal invitations, choose a design that reflects your wedding style and includes all necessary details:
- Wedding date, time, and location
- RSVP due date (typically 3-4 weeks before the wedding)
- Dress code information
- Reception details
- Accommodation options
Include RSVP cards with clear instructions and pre-stamped envelopes to make responding easy. Track responses in a spreadsheet to stay organized.
Consider including details about your wedding website where guests can find additional information. Digital RSVPs through your website can simplify the tracking process and reduce paper waste.
Building Your Wedding Website

A wedding website serves as a central hub for all your wedding information. Many free and paid platforms make creating one simple, even with no design experience.
Key elements to include on your wedding website:
- Your love story
- Wedding timeline and locations with maps
- Accommodation recommendations
- Transportation details
- Registry information
- RSVP functionality (if using digital RSVPs)
- FAQ section addressing common questions
Make your website mobile-friendly since many guests will view it on their phones. Update it regularly with new information as your wedding approaches.
Send the website link with your save-the-dates so guests can access it early in your planning process.
Planning the Seating Arrangement

Creating a thoughtful seating plan ensures guests feel comfortable and encourages positive interaction. Wait until most RSVPs arrive before finalizing your arrangements.
Start by deciding between assigned tables only or specific seats at tables. Consider these factors when grouping guests:
- Relationships and friendships
- Age groups
- Common interests
- Family dynamics (including any conflicts)
Use a digital planning tool or create a physical chart with movable elements to experiment with different arrangements. Place your VIP guests (immediate family and wedding party) closest to you.
Don’t forget to create clear seating guides for the entrance to your reception. Consider both a master chart and individual escort cards to help guests find their seats quickly.
The Ceremony and Reception Details
Your ceremony and reception are the heart of your wedding day. These events require careful planning to ensure they reflect your vision and provide a memorable experience for your guests.
Planning Your Ceremony Script
Your ceremony script sets the tone for your entire wedding. Start by deciding on the overall length—most ceremonies last between 20-30 minutes. Work with your officiant to create a ceremony that reflects your relationship and values.
Consider including personal vows, whether traditional or written by you. These heartfelt promises form the emotional core of your ceremony.
Choose meaningful readings that resonate with you as a couple. Ask trusted friends or family members to deliver these readings for a personal touch.
Don’t forget to plan logistics like seating arrangements for your wedding party and immediate family. Make sure everyone knows their positions and roles during the ceremony.
Arrange a rehearsal with your wedding party to practice processional and recessional timing. This ensures everyone moves confidently on your big day.
Coordinating Reception Activities

Your reception timeline keeps the celebration flowing smoothly. Begin by planning key moments like your grand entrance, first dance, toasts, and cake cutting.
Create a detailed schedule and share it with your wedding vendors and wedding party. Include buffer time between activities to account for unexpected delays.
Discuss music selections with your DJ or band for important moments. Choose songs for your first dance, parent dances, and the final dance of the night.
Consider thoughtful transportation options for guests between ceremony and reception venues if they’re in different locations. Shuttle services can be a convenient solution.
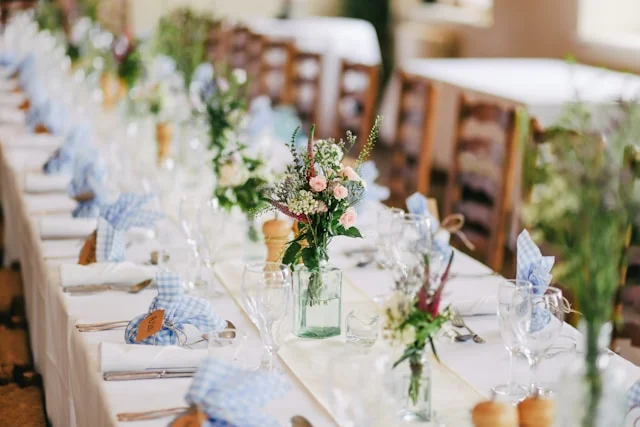
Plan party rentals carefully, including tables, chairs, linens, and lighting that match your wedding style. These elements create the atmosphere for your celebration.
Finalizing Food and Cake Details

Your menu selection is a highlight of the reception experience. Work with your caterer to create a menu that accommodates dietary restrictions while reflecting your preferences.
Schedule a tasting session to sample potential dishes and make informed decisions. This is your opportunity to refine flavors and presentation.
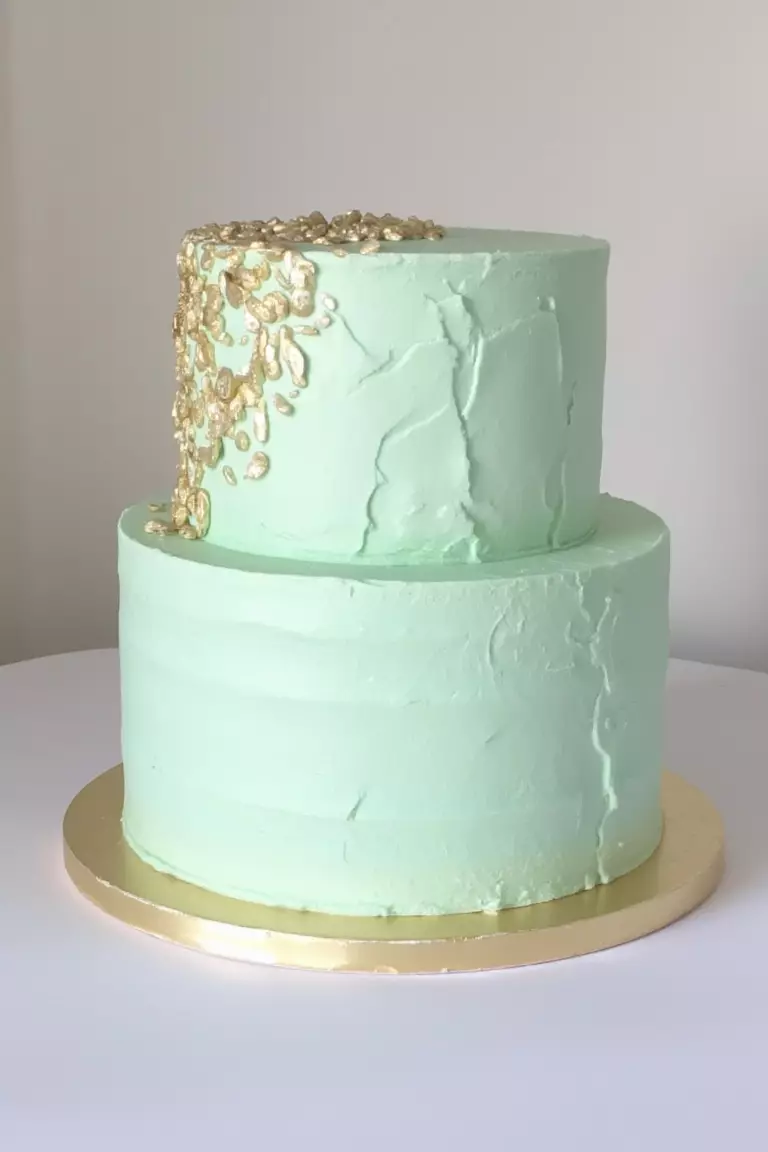
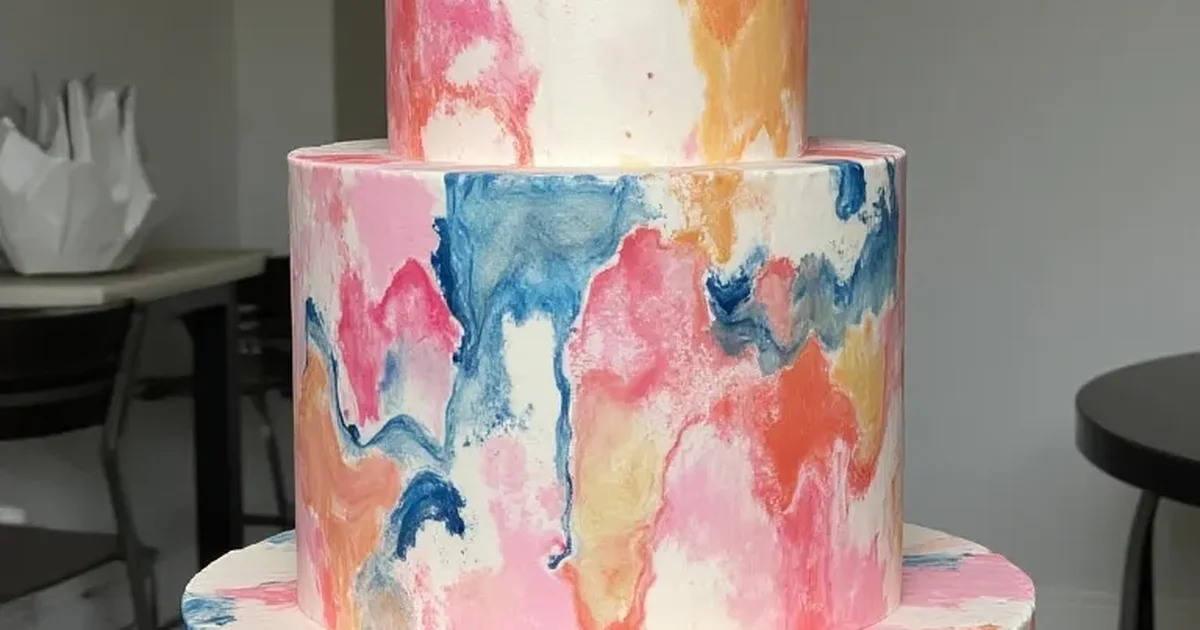
For your wedding cake, meet with potential bakers to discuss design, flavors, and serving size. Consider matching your cake design to your overall wedding theme.
Don’t forget to plan for the cake cutting ceremony—this traditional moment makes for wonderful photos. Discuss with your photographer the best timing for this event.
Wedding favors provide a thoughtful sendoff for your guests. Choose items that are practical, meaningful, or edible rather than trinkets that might be discarded.
Preparing for the Unexpected
Even the most carefully planned weddings can face surprises. Being prepared for unexpected situations can save your special day from turning into a stressful experience.
Building Your Wedding Emergency Kit
A wedding emergency kit is essential for handling minor crises that might arise. Start with basic health items like pain relievers, bandages, and antacids.
Include fashion fixes such as:
- Safety pins
- Fashion tape
- Stain remover pen
- Sewing kit with various thread colors
- Extra buttons
Don’t forget personal care items like deodorant, mints, and blotting papers. A phone charger and cash for tips or emergencies should also be included.
Ask your maid of honor or best man to be in charge of the kit. Make sure they know where it is and what’s inside. This preparation will give you peace of mind throughout your wedding day.
Creating Contingency Plans

Always have a Plan B, especially for weather-related issues. For outdoor weddings, secure a tent or indoor alternative that can be implemented quickly if rain threatens.
Talk with your venue about their backup options. Many venues have experience handling unexpected situations and can offer valuable advice.
Create a contact list with all vendors’ phone numbers. Designate someone trustworthy (not in the wedding party) to handle any vendor issues that arise.
Consider wedding insurance to protect your investment. It can cover cancellations due to extreme weather, illness, or venue problems.
Discuss potential timing adjustments with your photographer in case your schedule gets delayed. Having flexibility built into your timeline gives you breathing room when the unexpected occurs.
Final Steps and Post-Wedding Considerations
As your wedding day approaches, several important tasks need your attention to ensure everything runs smoothly. From organizing pre-wedding events to handling post-wedding matters, these final preparations are crucial for a stress-free celebration.
Organizing the Rehearsal Dinner

The rehearsal dinner typically occurs the night before your wedding. This event brings together your wedding party, close family members, and out-of-town guests.
Choose a venue that reflects your style but differs from your reception location. Consider restaurants, backyard gatherings, or casual venues that create a relaxed atmosphere.
Send invitations 4-6 weeks in advance, clearly stating the time, location, and dress code. This gives guests enough time to plan.
Prepare a loose schedule for the evening that includes:
- Welcome drinks
- Dinner service
- Toasts and speeches
- Gift presentations for wedding party members
Taking Care of Last-Minute Tasks

Create a comprehensive checklist for the final week before your wedding. Include confirming all vendor details and final payments.
Check that your wedding rings are cleaned and ready. Store them in a safe place until the ceremony, and assign a trusted person to handle them on your wedding day.
Make sure you have all necessary legal documentation prepared. Your marriage license requirements vary by location, but typically you’ll need to apply 2-6 weeks before your ceremony.
Pack an emergency kit with:
- Safety pins
- Stain remover
- Pain relievers
- Makeup for touch-ups
- Snacks and water
Designate responsibilities to your wedding party or coordinator so you can focus on enjoying your day.
Planning for the Honeymoon

Start honeymoon planning at least 6 months before your wedding. Research destinations that fit your budget, interests, and the time of year you’ll be traveling.
Check passport expiration dates and visa requirements. If you’re changing your name, book travel under your maiden name to avoid complications.
Create a packing list tailored to your destination. Include:
- Weather-appropriate clothing
- Travel documents
- Medications
- Electronics and chargers
Consider postponing your departure for a day after your wedding. This buffer allows you to rest and handle any unexpected issues.
Set up auto-replies for emails and arrange for someone to watch your home while you’re away. Purchase travel insurance to protect your investment against unforeseen circumstances.
Begin writing thank you cards as gifts arrive, rather than waiting until after the honeymoon. This makes the task less overwhelming when you return.
Frequently Asked Questions
Planning a wedding involves many important decisions and tasks that can feel overwhelming at first. Here are answers to common questions that will help guide you through the process with confidence.
What are the first steps to take when beginning to plan a wedding?
Start by setting a realistic budget that aligns with your financial situation. This will guide all your future decisions and help prevent overspending.
Next, create a rough guest list to determine the size of your wedding. This number affects your venue options and overall costs.
Choose a date or at least a season for your wedding. Consider weather, availability of venues, and whether certain dates might be meaningful to you as a couple.
Begin researching venues that match your vision and can accommodate your guest count. Popular locations often book 12-18 months in advance.
What items should be included in a comprehensive wedding planning checklist?
Your checklist should include major vendor categories: venue, catering, photography, attire, flowers, music, and officiants. Each category has its own timeline for booking.
Don’t forget smaller details like transportation, accommodations for out-of-town guests, and backup plans for outdoor events.
Include personal elements such as writing vows, selecting meaningful music, and choosing readings or cultural traditions to incorporate.
Track due dates for deposits, final payments, RSVPs, and marriage license applications. Using a wedding planning app can help you stay organized.
How can I plan a memorable wedding while sticking to a small budget?
Prioritize what matters most to you and allocate more of your budget to those elements. Perhaps amazing food is important, but elaborate floral arrangements are not.
Consider off-peak dates and times. Friday evenings, Sunday afternoons, or weekday weddings often cost significantly less than Saturday events.
Limit your guest list, as the number of attendees directly impacts your catering, beverage, and venue costs. An intimate gathering can be just as meaningful.
Explore DIY options for décor, invitations, or favors if you have the skills and time. Just be realistic about what you can accomplish without adding stress.
Is it possible to organize a beautiful wedding without hiring a professional planner, and if so, how?
Yes, you can absolutely plan your own wedding with proper organization and research. Many couples successfully plan their entire wedding themselves.
Create detailed spreadsheets to track vendors, payments, and timelines. Set calendar reminders for important due dates and check-ins with vendors.
Delegate tasks to trusted friends and family members. Consider asking someone to be your day-of coordinator to handle any issues that arise.
Research thoroughly by reading reviews, attending bridal shows, and having detailed conversations with potential vendors about your vision and expectations.
What are the best strategies for finding and selecting the perfect wedding planner?
Start by defining what services you need—full planning, partial planning, or day-of coordination—based on your budget and how involved you want to be.
Ask for recommendations from recently married friends or venues you’re considering. Many venues have preferred planner lists.
Interview multiple planners to find someone whose style and personality mesh well with yours. This person will be by your side during stressful moments.
Review their portfolio carefully to ensure their aesthetic matches your vision. Ask about their approach to wedding planning and how they handle challenges.
Can you provide a step-by-step guide to planning a wedding, possibly with downloadable resources?
Begin by setting your budget and guest list, then secure your venue and date. These elements form the foundation of your planning process.
Book major vendors 9-12 months out: photographer, caterer, and entertainment. Order your attire at least 8 months before the wedding to allow time for alterations.
Address invitations 3-4 months before the wedding, with an RSVP due date about 4-6 weeks before your date. This gives you time to follow up with non-responders.
Create a detailed day-of timeline about a month before the wedding. Share this with your vendors and wedding party so everyone knows where to be and when.